Thursday, September 27, 2018

The 2D Perspective

We were tasked with selecting a work by the artist John Berky for this study of perspective, which is the art of drawing solid objects on a 2D surface so as to give the correct impression of the height, width, depth, and position when viewed from a particular point.

I chose this piece, as I felt it offered a great one-point perspective vantage.


In Maya, I used the image as reference in the orthographic front view in order to replicate the perspective in 3D.


The x-ray shading option was particularly helpful in my effort to accurately adjust the models, lights, and camera to match the image.


I then took an image of the 3D models into Photoshop, where I established the one-point perspective point, and recreated the original lighting and details from the reference work. The two matched up quite well I believe.

Thank you!

Monday, September 24, 2018

The ZBrush Experience, Pt. 1

Today's post will present the first assignment prior to our immersion into Zbrush, using a proxy model of a cannon for our first lessons.


We were given this orthographic drawing of a cannon by our instructor, Nick Zuccarello, on which to base our own 3D rendition.

Employing the top and side perspectives in Maya, I began with primitive polygon cubes for the base.


The best way to go about modeling into complexity is to break it down into simpler elements, recognizing that even the most intricate models are made up of basic shapes.


As the poly count could not exceed 500 faces, or 1,000 triangles, my final cannon proxy had exactly 477 faces and and 912 triangles.


Lastly, I brought the cannon into UE4 as an FBX file in order to judge the scaling within the engine as well.

Thank you!

Thursday, September 20, 2018

2D Compositon

For this assignment we were chose a poster by the artist Drew Struzan, and recreated it noting the composition style he chose to use for the piece. I chose to use his poster for the Crocodile Dundee film. I feel it has a radial style, with the focus on his head, ringed by the sun behind, with every other character and element radiating from it.


Monday, September 17, 2018

The Lego Project - LOTR Helm's Deep Edition Pt.2

Continuing where we left off last week in the 3D Lego recreation of the Helm's Deep battle from The Two Towers, the Nature-Environment team pushed forth in development.


Jerry made us a nice terrain of mountains and valley in which to place our scene. The rest was a matter of incorporating the Lego bricks from Griselle, Brenda, and Kim in strategic places, which they all individually had a hand in, so as to give the impression that the environment is totally Lego-y.


Brenda and Jerry also made blueprints of the two unique tree configurations using his trunk and my branch bricks, which were also sprinkled around. Jo also made a blueprint for large swaths of Lego bricks that served as the ground (seen in green.)


Caro was a great help in placing the bricks for the moat running beneath the drawbridge and off into the unknown.


Caro's grass brick was given a brush treatment along with some boulders, and painted across the landscape.


Jerry did a nice job with the lighting, and including a rain effect as well to simulate a more authentic Helm's Deep experience. The rest all came together quite nicely.

Thank you everyone for your hand work!

Thursday, September 13, 2018

2D Assignment - Value

This assignment had us focus on the use of value, or the balance between light and dark, in a composition. We were given line art by the artist Frank Frezetta, whose artwork encompasses studies of the human figure in dynamic postures and settings.


I chose to work with the image above, as there appears to be an emphasis on value within the line work itself already. However, I wished to shift the light in another direction from that implied.


To begin, I added some basic grey-scale shading to the background and figures of the man and lion.


Next I included a gradient to portray a transition from light to dark, and darker shading on the figures to emphasize the shadows.


Finally, I included lighter highlights hitting the figures, as well as over the line art itself. This way the focus is greater on the value than the line.

Monday, September 10, 2018

The Lego Project - LOTR Helm's Deep Edision Pt. 1

This assignment encourages us to recreate a setting of our choice, in this instance the battle for Helm's Deep from the second The Lord of the Rings film, The Two Towers, using only assets that resemble Lego pieces from the franchise that exist in reality.

Our team will be tackling the environment of the setting specifically, which includes the landscape, mountains, boulders, and foliage, as well as the lighting and environmental effects such as fog and rain.

We divided the responsibility for the development of the Lego assets among each team member, and I chose to develop the brick that would serve for branches on the Lego trees.


This brick appeared the most appropriate to the setting and requirements of the trees for the Helm's Deep environment.

Using the image as a reference, I modeled a close approximation of it in Maya. I then uploaded this asset into Perforce and UE4, ready to be utilized in building the great Lego mountain fortress.


Thank you!

Thursday, September 6, 2018

2D Assignment Week 2 - Silhouettes

Hello, this week we were delving into the study of silhouettes, iconic black-and-white figures for the basic shape of a character, and how that best presents its defining characteristics.

We looked to character artist Brian Froud, whose work focuses on fantastic and mythical creatures.


I loved the shape of this little sprite of his, especially the round, saggy body, and the squiggly antenna poking up from its head.

Next, I rendered it as a black silhouette.


This way you notice the shape of the creature without focusing so much on the surface details and colors. It also serves in judging whether or not the character 'reads' well, or is instantly recognizable by its shape and posing alone.

I then placed it first among the lineup of variations of its silhouette that I stylized. Which one do you think reads the strongest?


Thank you!

Tuesday, September 4, 2018

The Fantastic Environment - Nature Lego Team!

After much deliberation, we have come to the consensus that this awesome team shall consist of Caro, Griselle, Kim, Brenda, Jerry, and Jo!
I look forward to working with all of you, I hope I may serve you well as leader. -bows

Monday, September 3, 2018

Minecraft 3D Assignment

This assignment took us into the world of Minecraft, or more specifically cube-based composition.

I took my inspiration from the scene pictured above, which captures the Minecraft-ish aesthetic quite well. I also enjoy wintry scenery, having never experienced it firsthand.

I began with the aforementioned cube, the basic building block, in Maya, where all things begin.

After adding a nice bevel to those hard edges, it was time to manage the UVs.

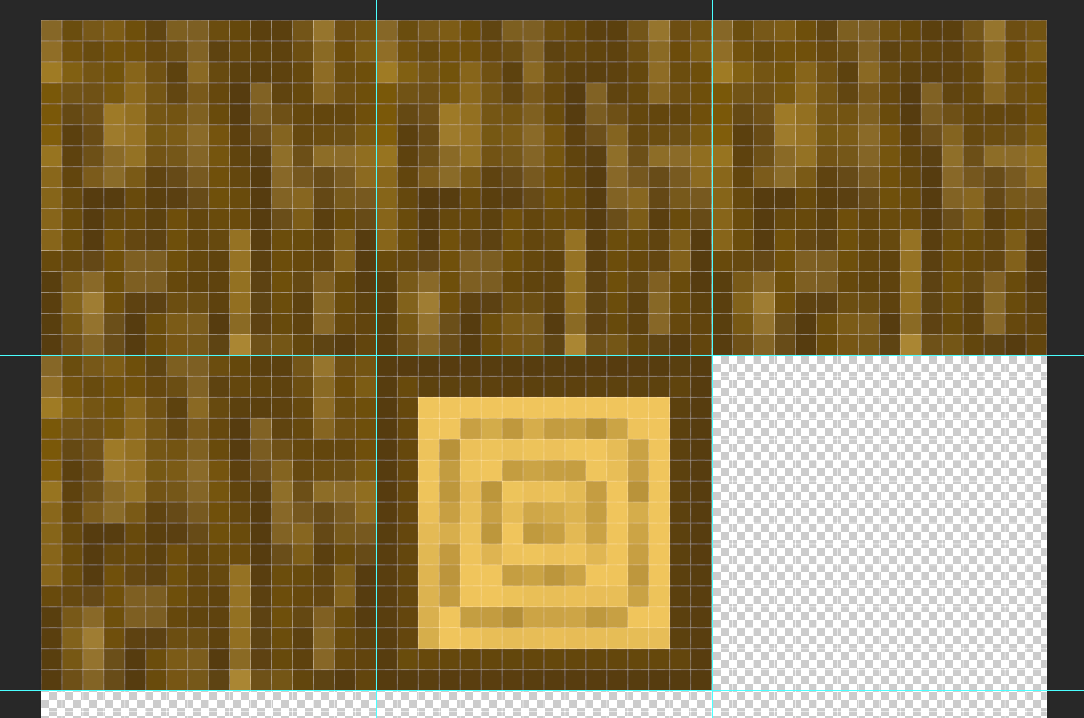
Using various techniques, the UVs have been organized into six neat grid squares, from right to left, and top to bottom. This is the best arrangement for the pixelated textures that will be applied to the blocks.
To start with, I applied a different color to each side, to ensure the UVs were where they should be.

Everything seemed to be working correctly, so it was time to create my own textures in Photoshop.

This is what I cooked up for the grass cubes. The transparency will work well for the illusion of foliage.

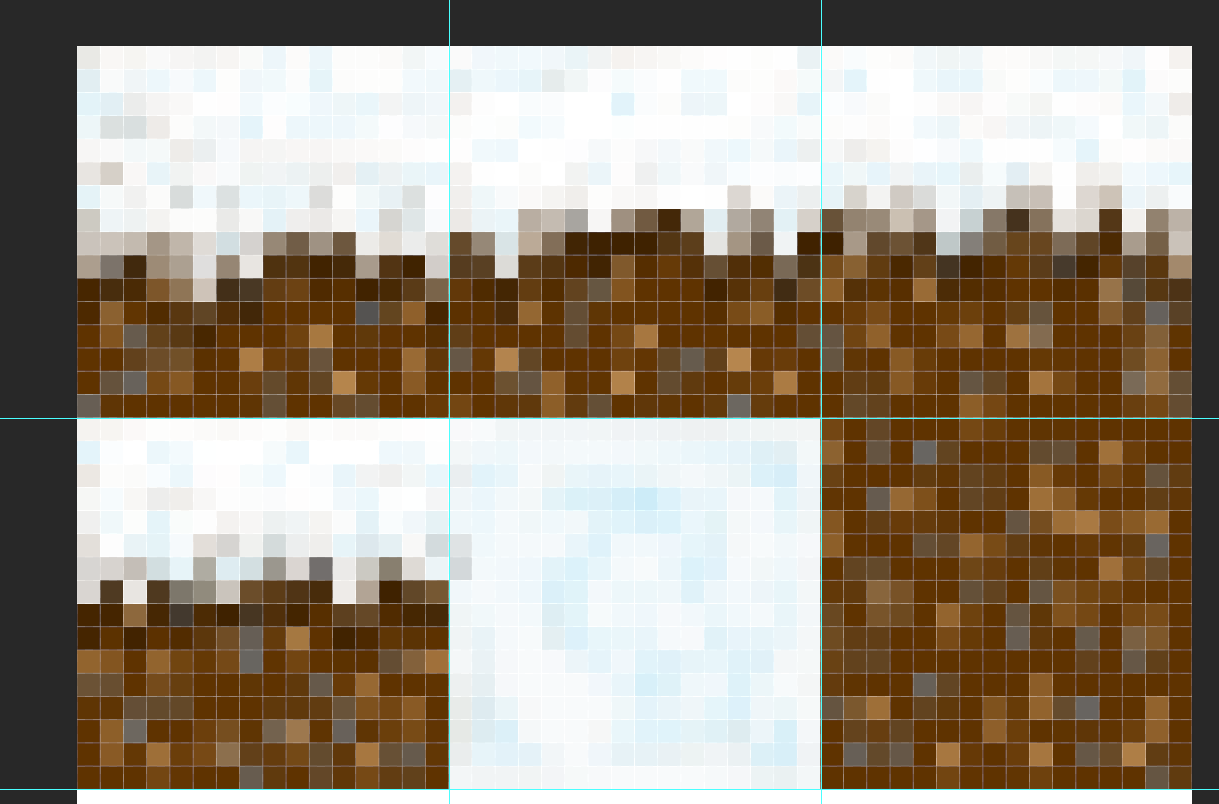
Now, the most important aspect of any landscape, the ground.

Similarly to the Minecraft example above, it consists of a brown, earth-like substance with snow on top.

It gets the job done, and looks convincingly like snow-covered planes.
There are also pine trees.

The tree boughs, with their respective transparency.

And their trunks and stumps.

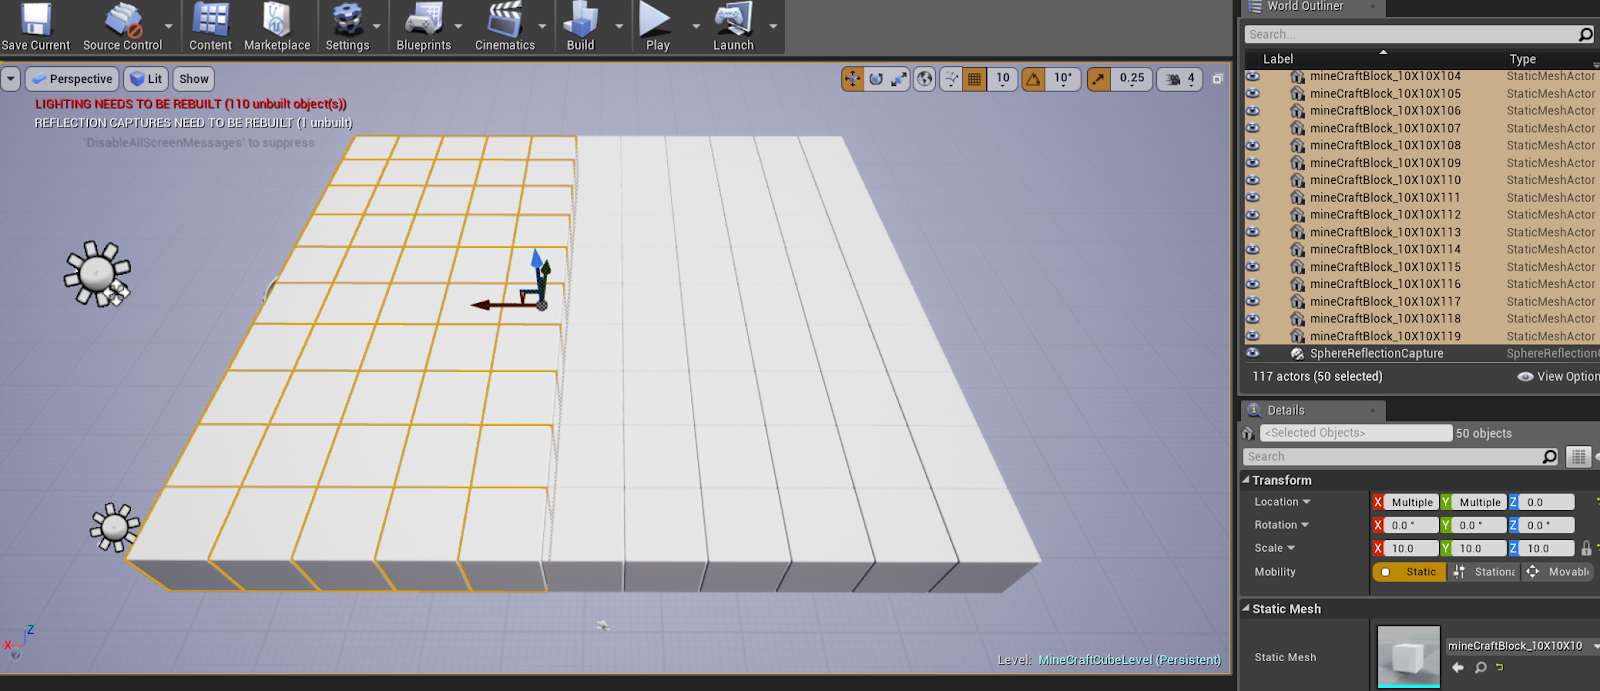
It was then time to plug all of these into the Unreal engine, and experiment. (The fun part.)

Bam, there it is. But it was not quite ready yet.

Dropped right out of Maya, the block was a bit too small in proportion to the Unreal world space, but that was easily fixed by adjusting its scale by ten.

With the properly-sized block, it was only a matter of selecting the original block multiple times to make many more blocks in space. Many more.

With the help of some materials, the landscape began to take shape.

Now, it is all a matter of stacking.


Something seemed off about this landscape at first glance. Upon closer inspection, the trees themselves are the culprits; I had the lack of foresight to add a layer of snow to them as well, but this was remedied.


Much better! But there is an additional element required.
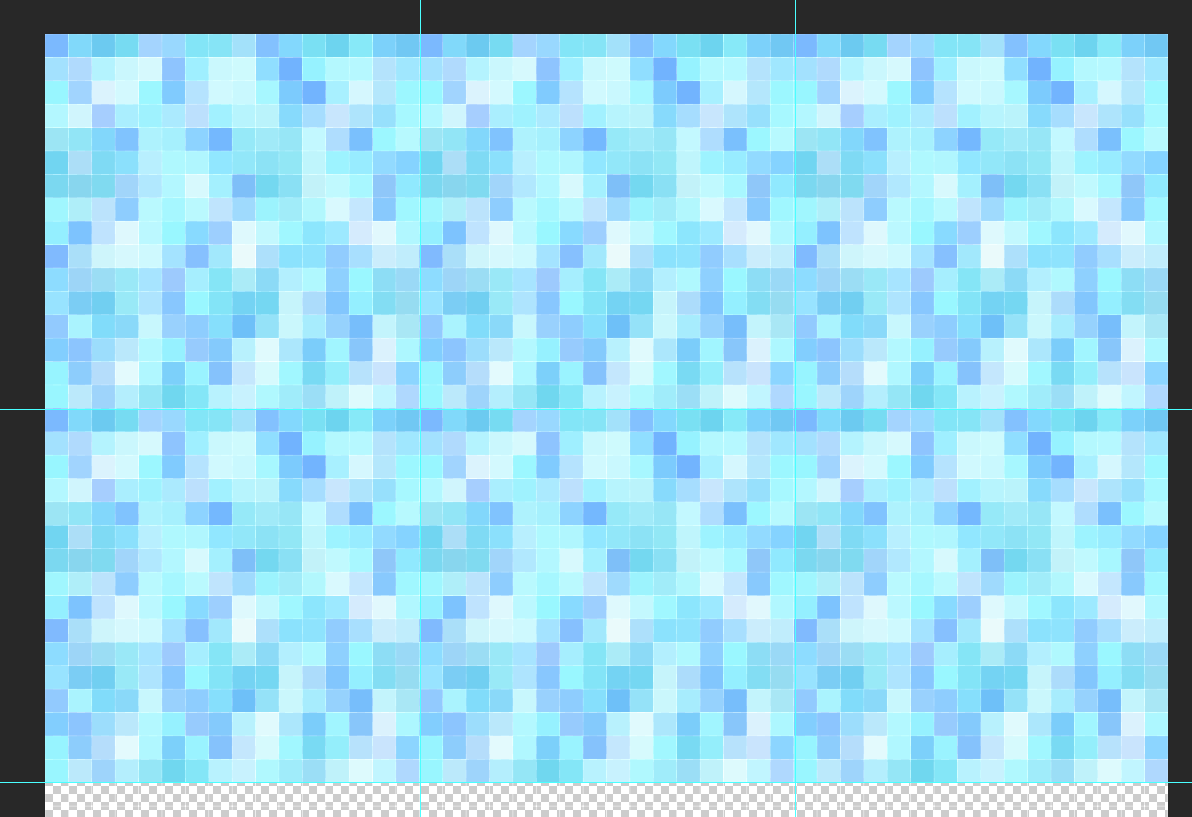
So I whipped up a texture for the frozen river cutting through the scene.

This led to much more selecting and applying of the texture.


The material it spawned did not have the desired effect, however. It had to be much more shiny, and glowy. Those adjectives found realization in the Unreal Hypershade window (In Maya, that's what's it's called...)


Now that's more like it! With everything assembled, all that was left to do was fiddle with settings for the other materials, the snow, wood, foliage, etc.


The sun is setting, quick time to add the lights!


The "Christmas tree" was bedecked with some twinkle-light blocks, the emission amped-up so as to glow nicely.
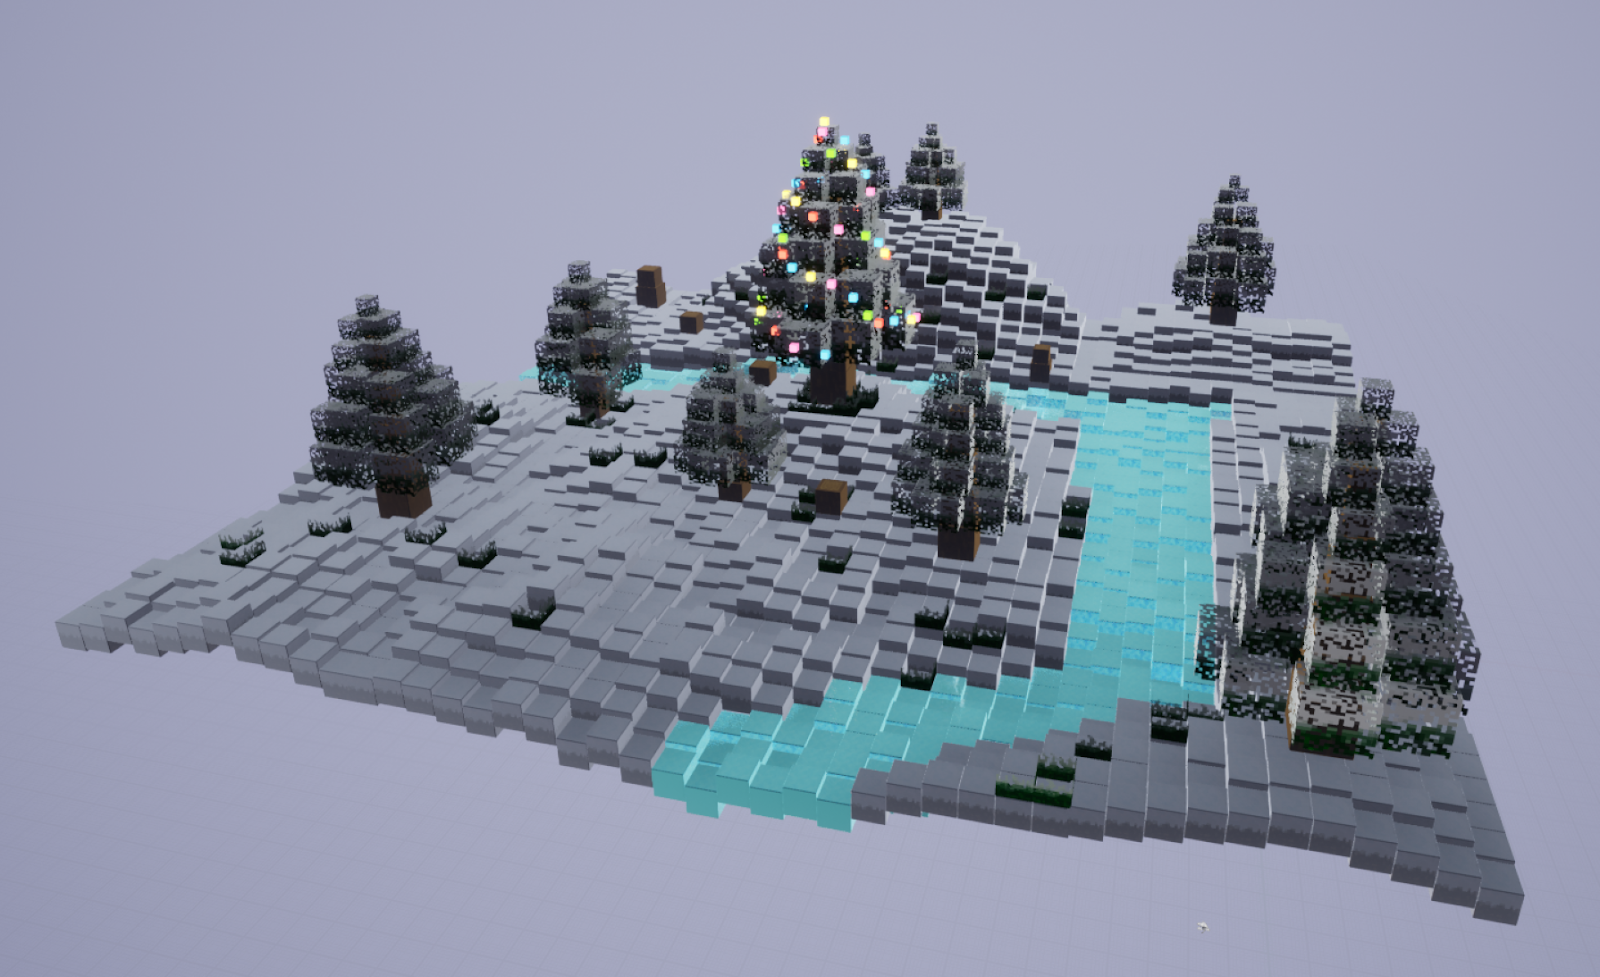
Now that's it's all said and done, please enjoy the screenshot scenery.


Thank you!